Our Process
The greatest tragedy we have today is that the older generation are not cataloguing their family photos, resulting in boxes of photos being thrown out and family history lost forever. Creating a family tree is a good start and sites such as www.ancestry.com and myheritage.com are great places to find family details. Once done you then use our Photo index form to match the information with your photos.
Family Heritage Photos is the only company in Australia providing an end to end service: selling archival boxes and sleeves, providing photo index charts, scanning, restoration, creating layouts for a photo album, then custom creating a book bound family heirloom album. A gift for the future generations.
Step 1 – Sorting your photos
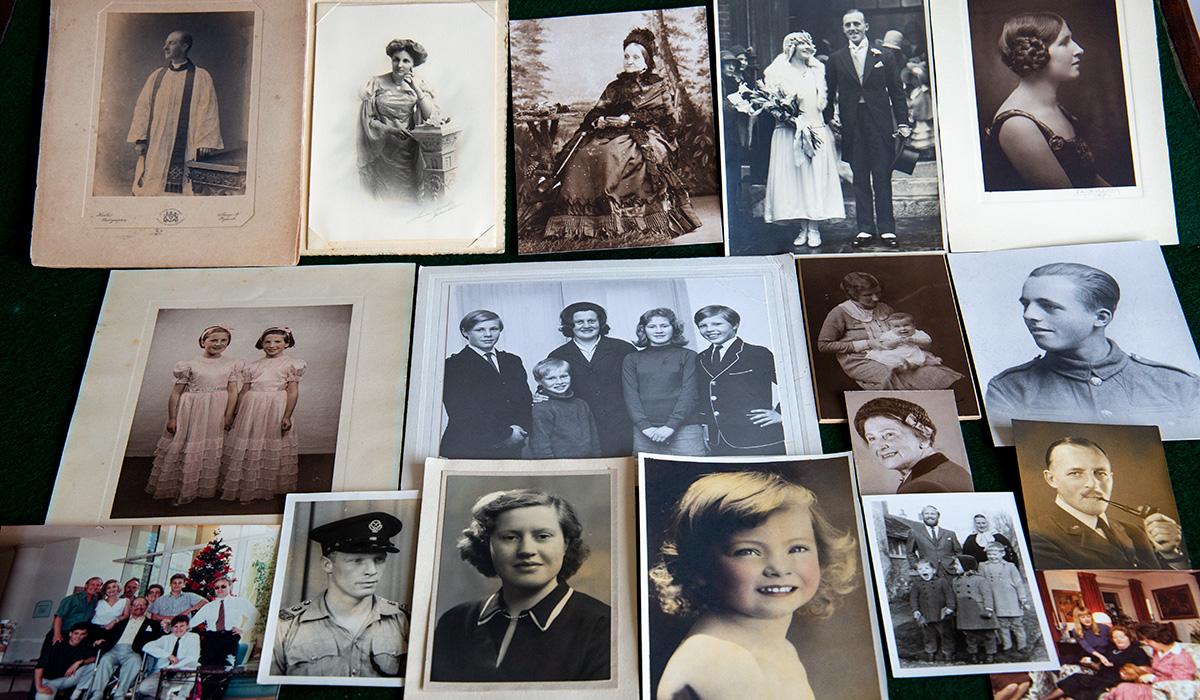
The best place to start is at the beginning. Sorting through boxes of family photos is often seen as a chore, and put into the ‘too hard basket’. BUT, this is the most important task. Clear your dining room table, place all your photos, negatives and slides in a chronological order across the table.
Then be decisive and select photos that are in good condition, and have a special relevance or importance to the entire family. The aim is to create a timeline of family members that may include professional studio portraits, family events such as weddings or gatherings. When the next generation view a timeline of grandparents from their baby photos to their wedding through to family portraits it becomes meaningful to everyone.
Step 2 – Photo index form
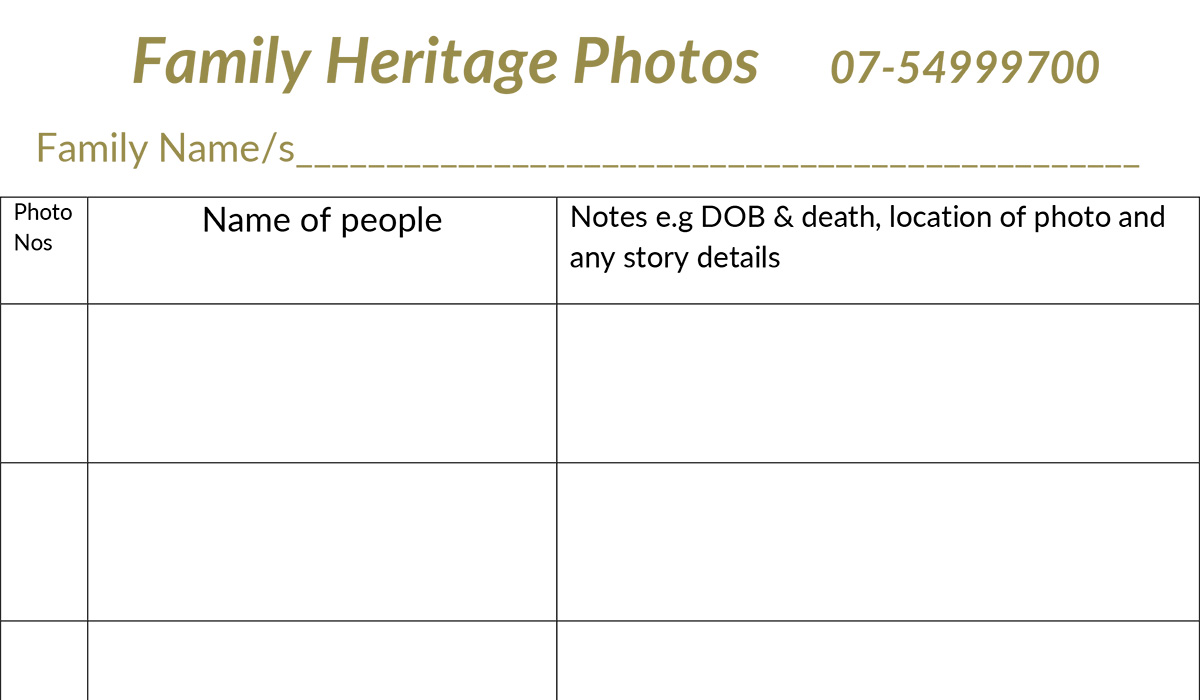
The reason family history is lost is because when boxes of photos do not have any information about the people in the photos, there is no reference point. If the next generation do not know who is in the photo then they are more likely to discard them in the trash bin!
Turn this into a family project. Communicate with the older generations on the paternal and maternal sides of the family and build up names, dates of when born, married and died. Where were they born, any stories of their life and career. Carefully index the photos by writing a number using a soft HB pencil on the back of the photo for reference. Download and print out our Photo Index list form
Step 3 – Archival Photo Storage
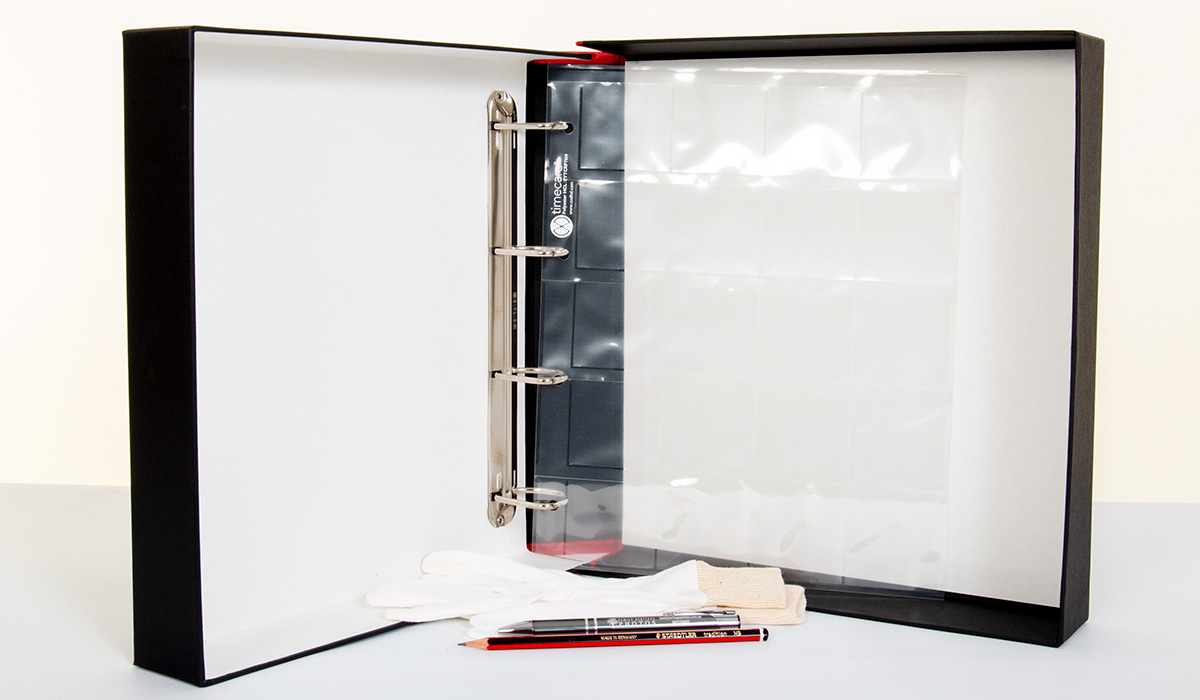
You may have already placed your photos and documents into plastic albums and sleeves. Price is always a determining factor, and unfortunately the majority storage devices are purchased at local superstores, the cheap plastics gas off, which results in photos turning yellow, fading, and in some cases sticking to the plastic!
Family Heritage Photos are the Australian distributors for the Timecare archival products manufactured by Conservation-by-Design in England to exacting Museum standards. Protect those valuable photos and documents by purchasing one of our archival storage boxes and sleeves.
Purchase archival boxes and sleeves at our new Online Store.
Step 4 – Delivery of your photos
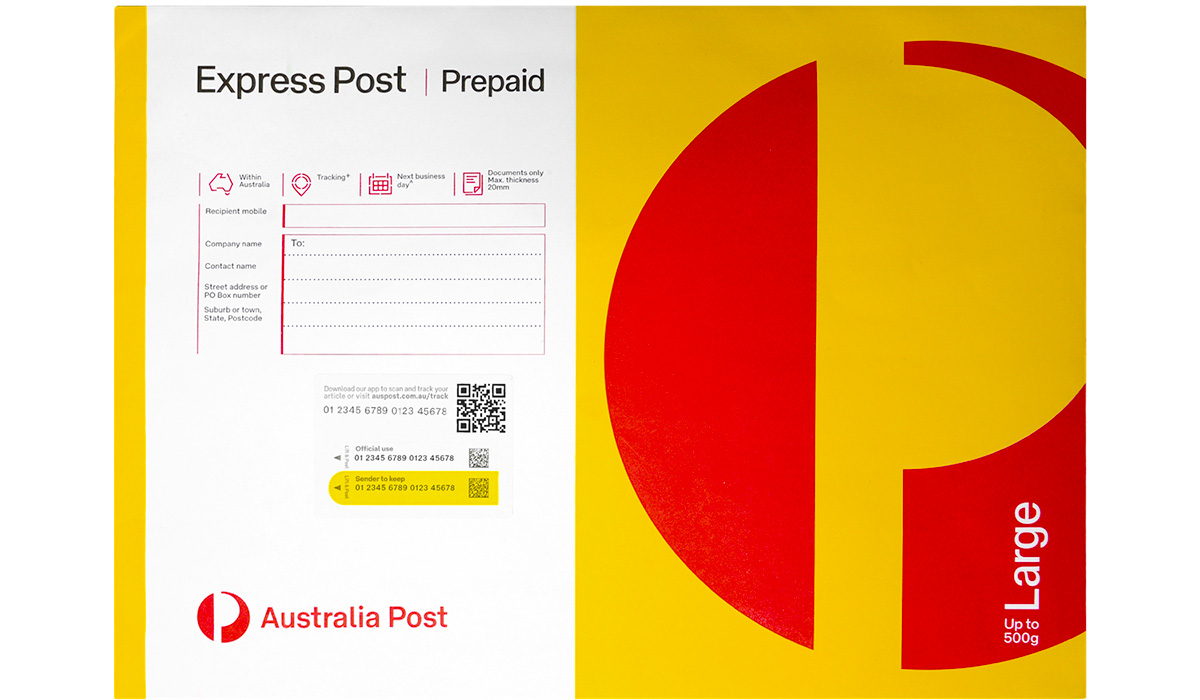
We know from talking with customers that there is a fear of letting special family photos leave their house. Australia Post will give you that peace of mind using their Express Post box service. The Post Office will give you a tracking number so you know when it is delivered to our business. Once we have completed the scans of the photos we use the same service to return your precious family photos.
If you prefer, phone us on 0455 500 007 to make an appointment to visit our Maleny studio at 17 Lorikeet Lane, Maleny, Queensland, 4552.
Step 5 – Scanning vintage photos
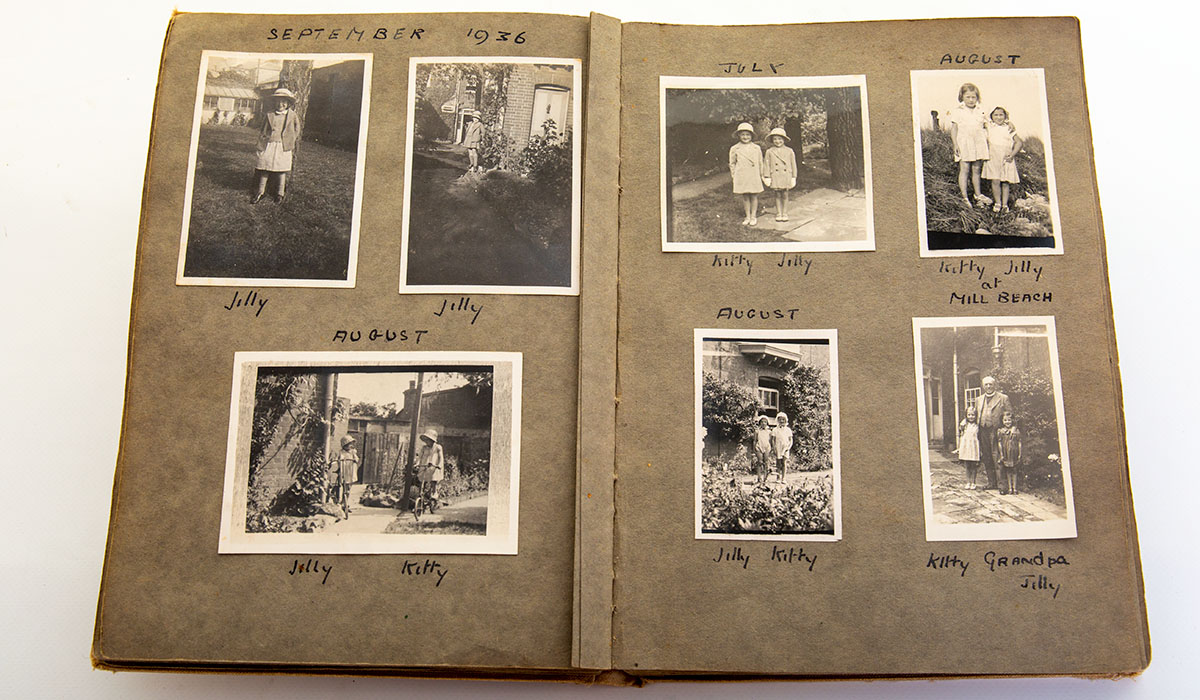
Family Heritage Photos has professional technical equipment that allows us to scan glass plates, old negatives, vintage photos, black & white prints, slides and colour photos. You do not have to lift out old photos from albums and risk damaging them, send us the album and we can zoom in to isolate the photos you want scanned.
Scanning old photos and negatives are digitised at very high resolution to produce professional working files, our professional software allows us to enhance and restore photos. Once done we convert to printing files to allow high quality printing for single prints or an heirloom album layout.
Step 6 – Restoration of photos
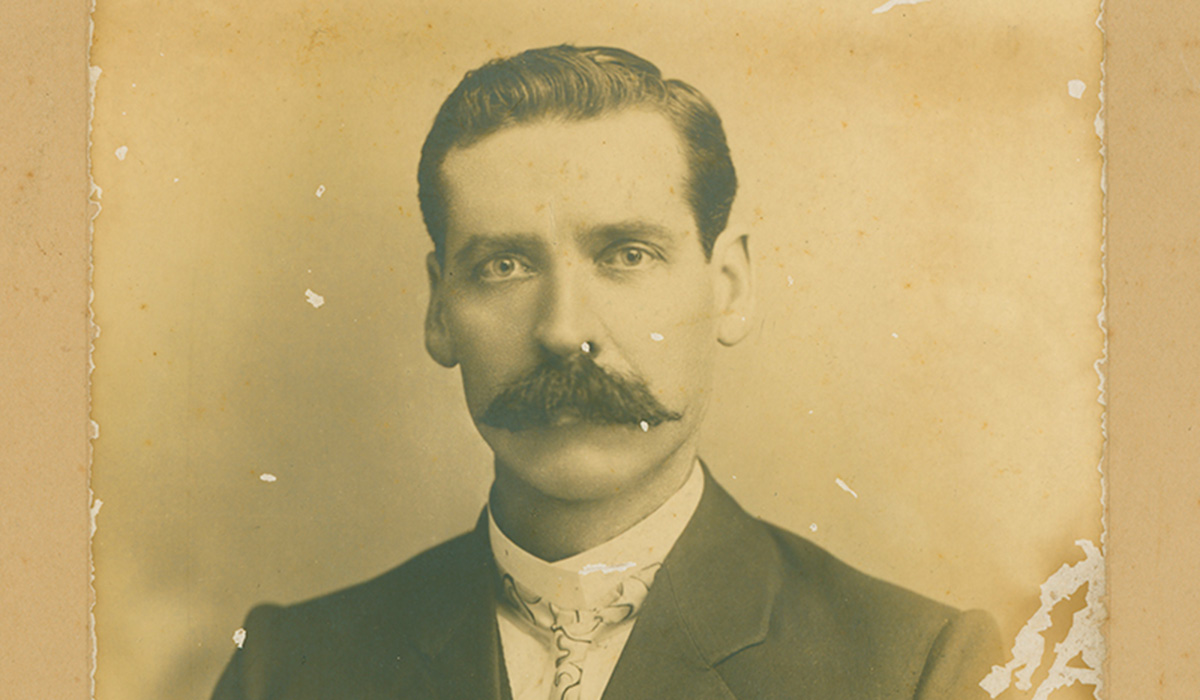
When Family Heritage Photos scan your photos, negatives or slides, these are all individually scanned. During the scanning process we enhance the image, and remove basic dust and spots, creating a high quality digital file.
The only items we will not scan are those that have mildew/mould across the image, try and find an image in better condition. There are a huge range of conditions that may need restoration, we will quote you for restoration work once the scans are completed, and we can view the damage to the photo on our computer screen. Of course many photos may not require restoration. View restoration samples.
Step 7 – Photo Album Design
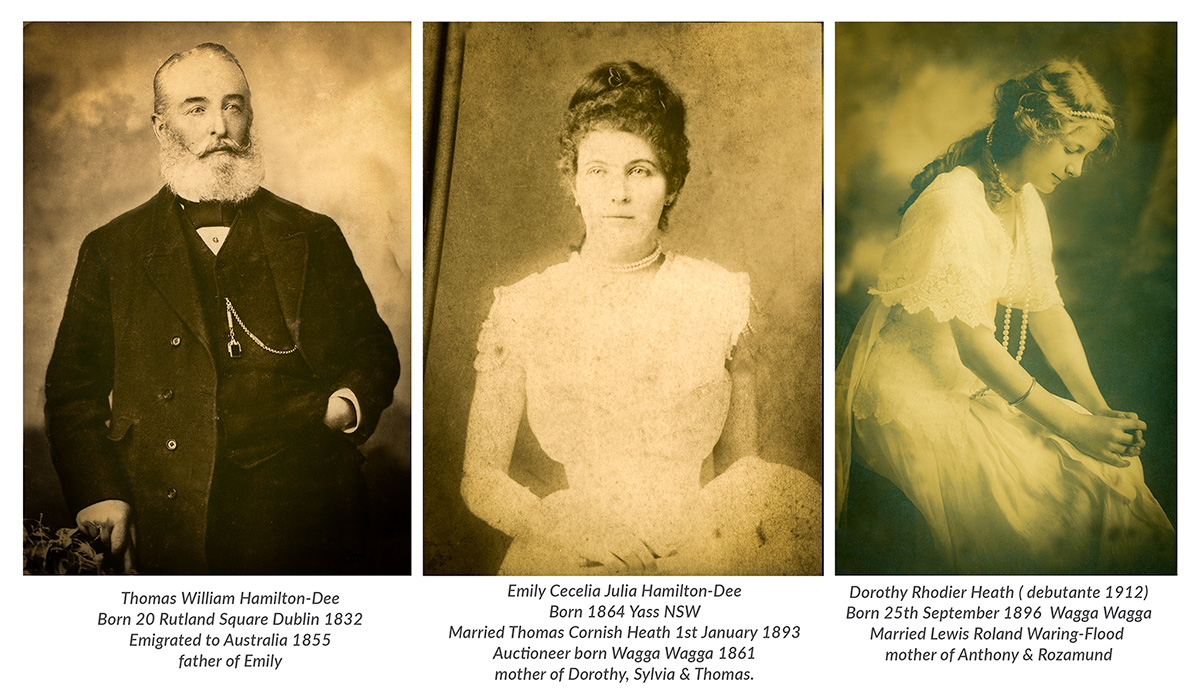
This is when it gets exciting for you. Using all the photos you provided, plus all the text to match the photos, we then design and create a layout of your family across twelve double page spreads, it can be more if you have a lot of family and photos you want included.
Once finished we invite you into the studio to view the completed album. (If distance prevents you from visiting the studio we provide a link for you to view on your computer at home). This is where you fact check all the names and dates, and suggest any alterations to the layout. Once you approve and sign off, we go into production of your family heirloom.
Step 8 – Album cover options
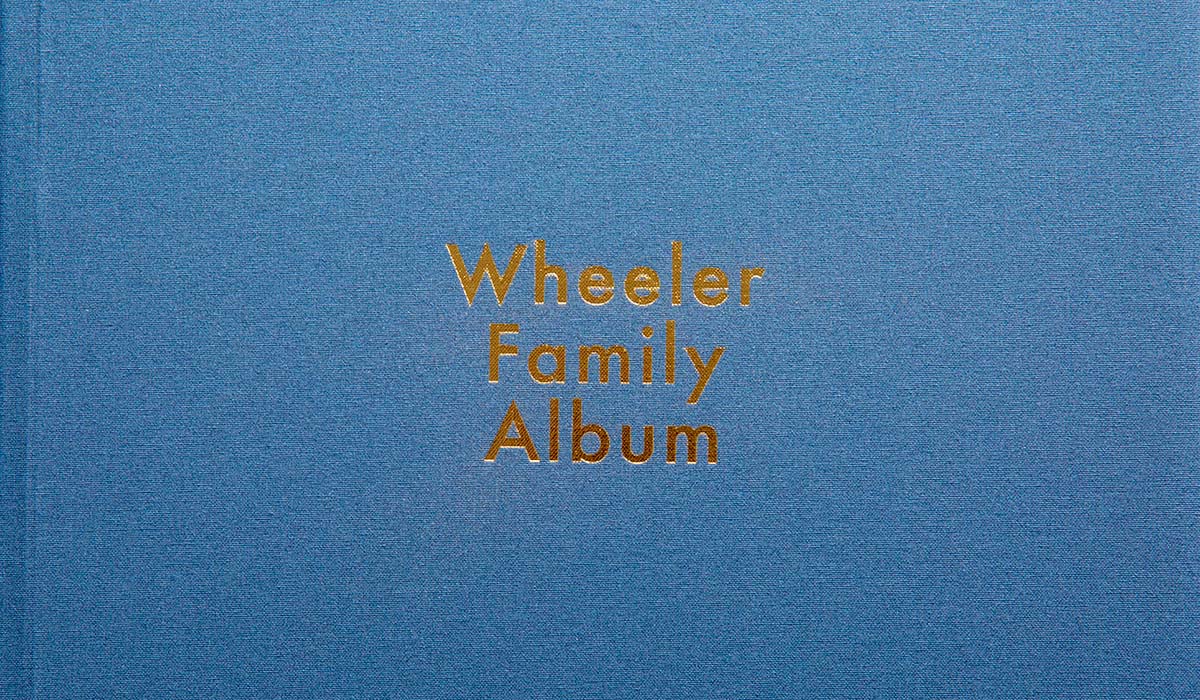
Your family heirloom photo album is custom made just for you. Once you have decided on the album size and number of pages, you select your cover. Select from either a buckram or leather cover, both are hard wearing and resistant to handling. There are twelve colours available to choose from: ranging from black, slate, royal blue, rustic brown and more.
A final touch is to make a statement and have the family name in gold or silver foil on the album cover. A source of pride for all the future generations.
